Contact
- Email: [email protected]
Table
- Prerequisites
- Summary
- PC Prerequisites
- VirtualBox installation
- Kali Virtual Machine
- Network adapter setup
Prerequisites
- Have VirtualBox Downloaded
- Have Kali pre-build OS for VirtualBox Downloaded
- Have VirtualBox Extension pack Downloaded
- Enable Virtualization on bios
Summary
This tutorial is for you to be able to install and setup VirtualBox on a Windows computer and with minimal changes on Mac OS and change network adapter.
| Network adapters | Description |
|---|---|
| NAT | NAT gateways sit between two networks adn emulated by your computer |
| Bridge Network | Bridge is exacly that when you give direct access to the computer network adapter |
PC Prerequisite
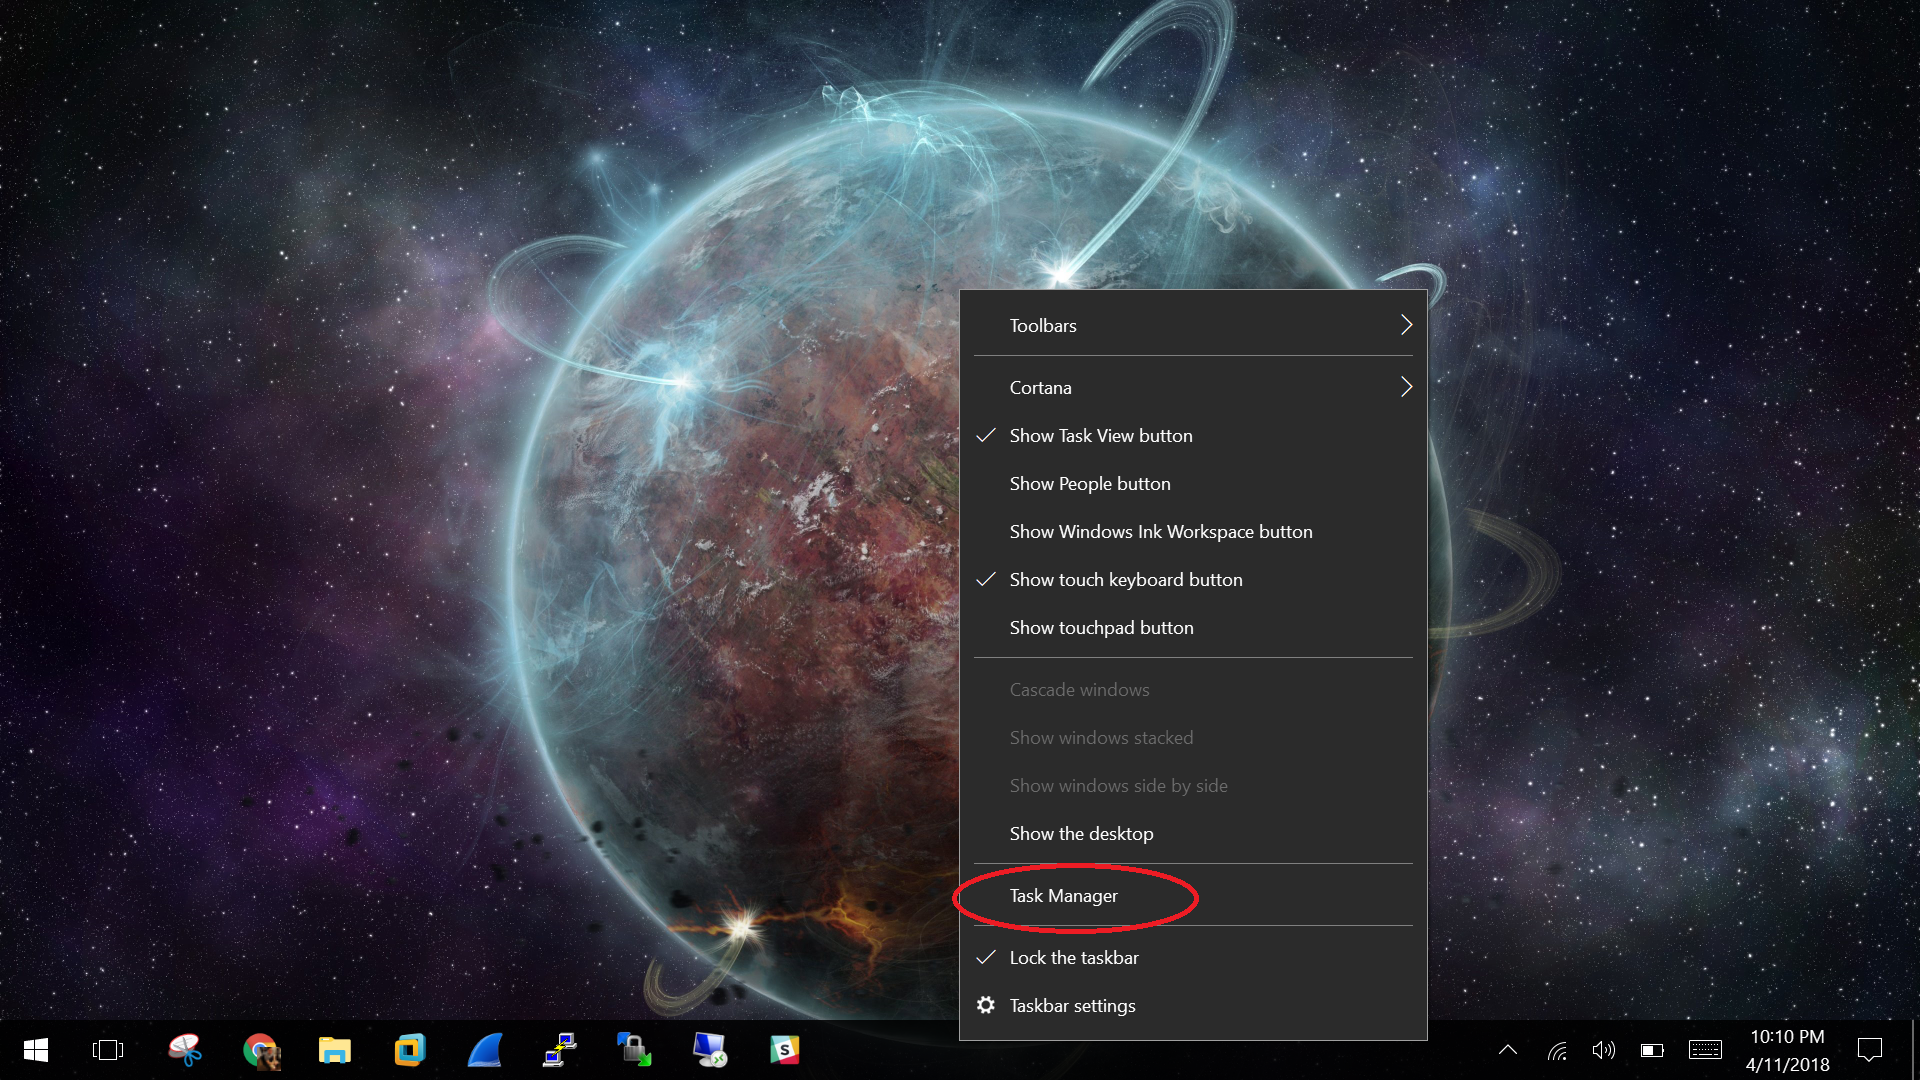
- Go to
Taskbarand right click and then selectTask Manager
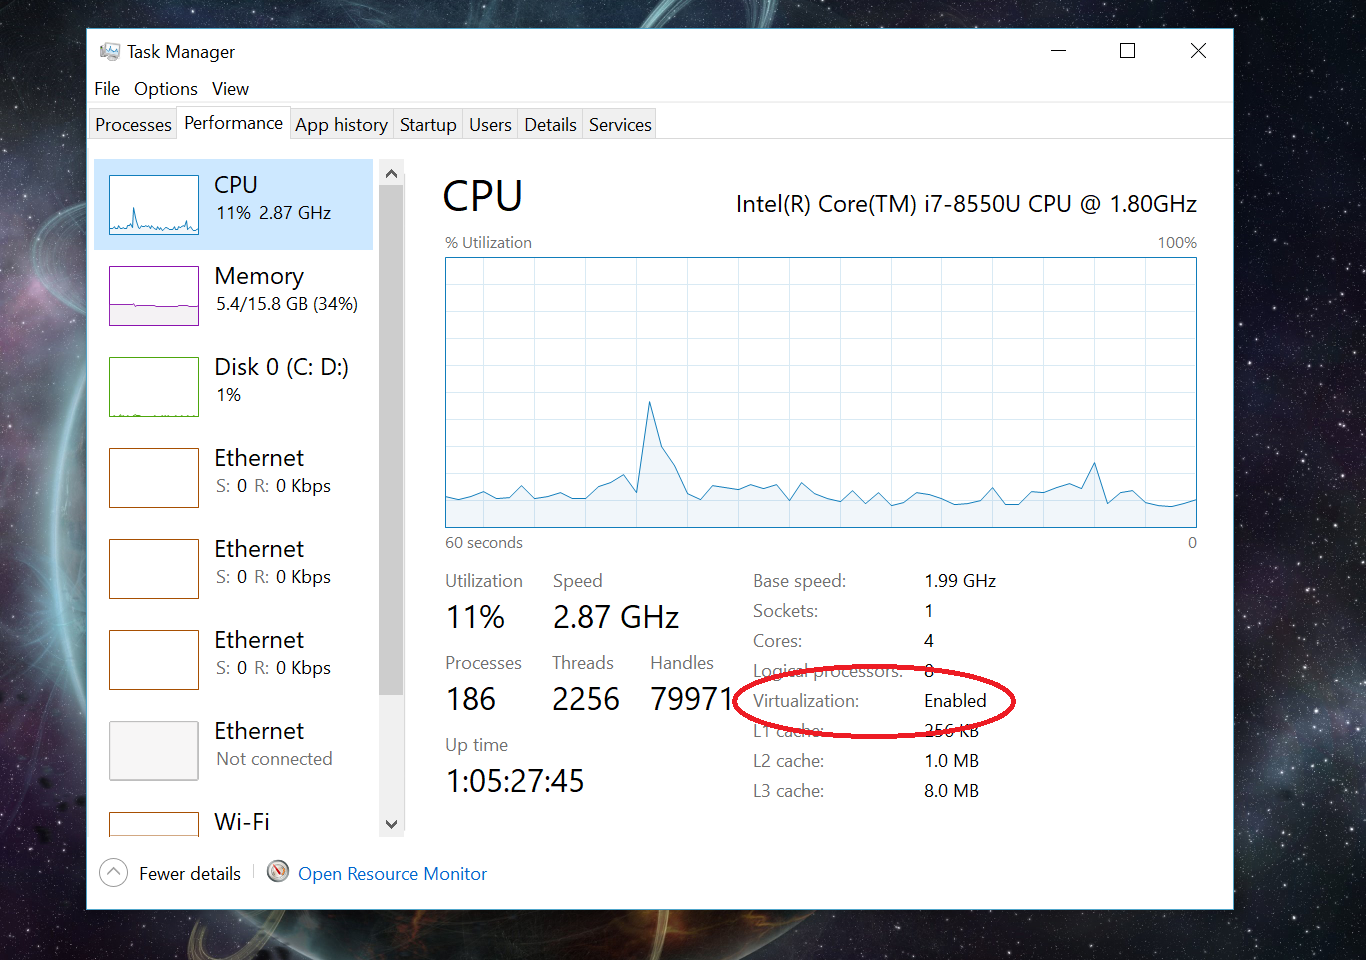
- After selecting
Task ManagerselectPerformance - This will let you know if your computer have
Virtualization - Look at the bottom left for
Virtualizationto see if isEnabledorDisable - If
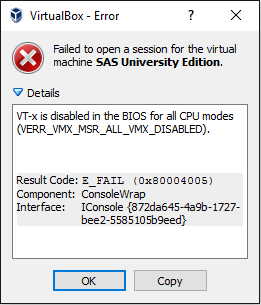
Virtualizationisdisablego to google and search for your pc manufacture on how to enableVirtualization. - You will get a error like the one bellow if your
virtualizationisdisableand you try to installVirtualBox.
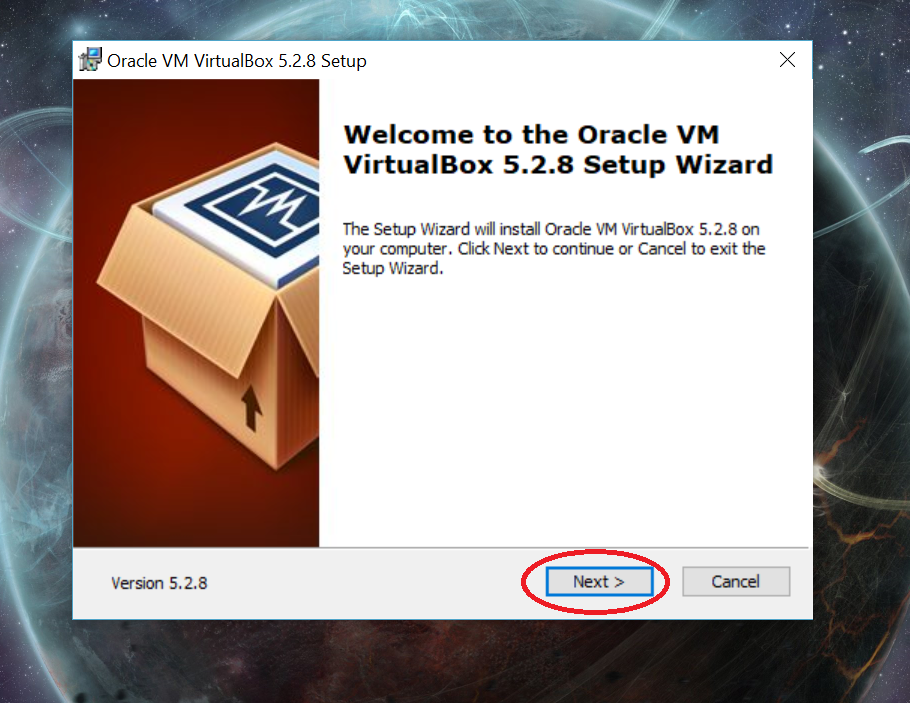
Start the VirtualBox installation
- Go to where you download your files to install
VirtualBox.
- Double click on the
VirtualBoxinstallation file.
- Then go through the installation process.
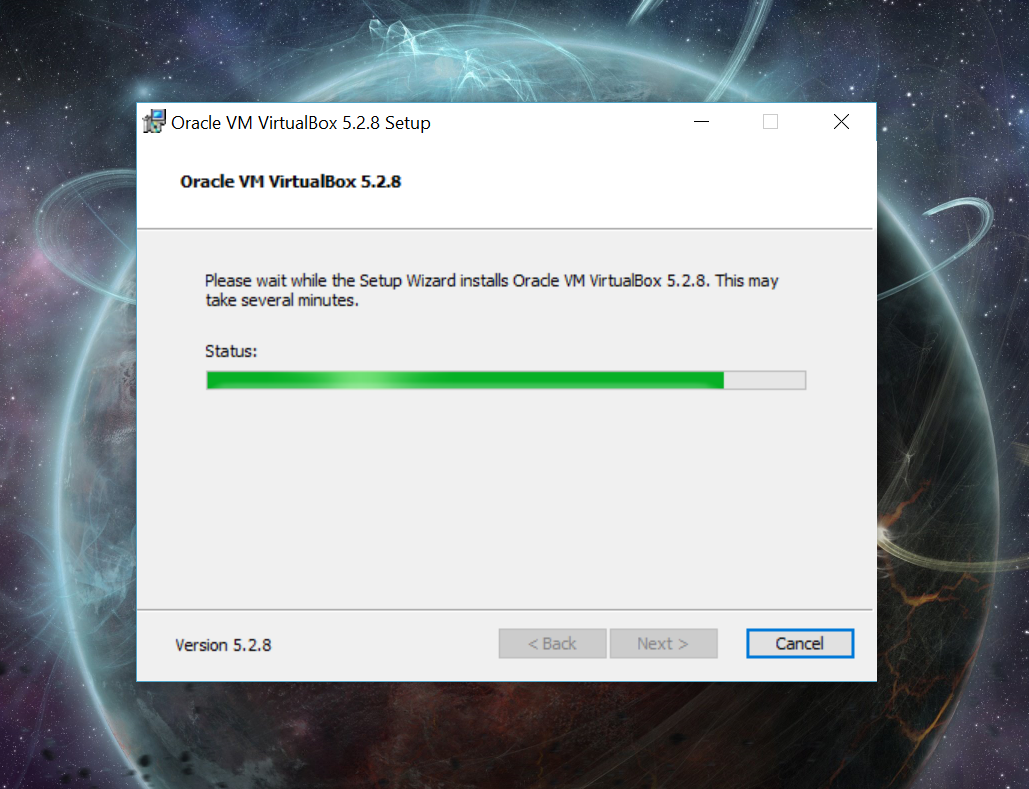
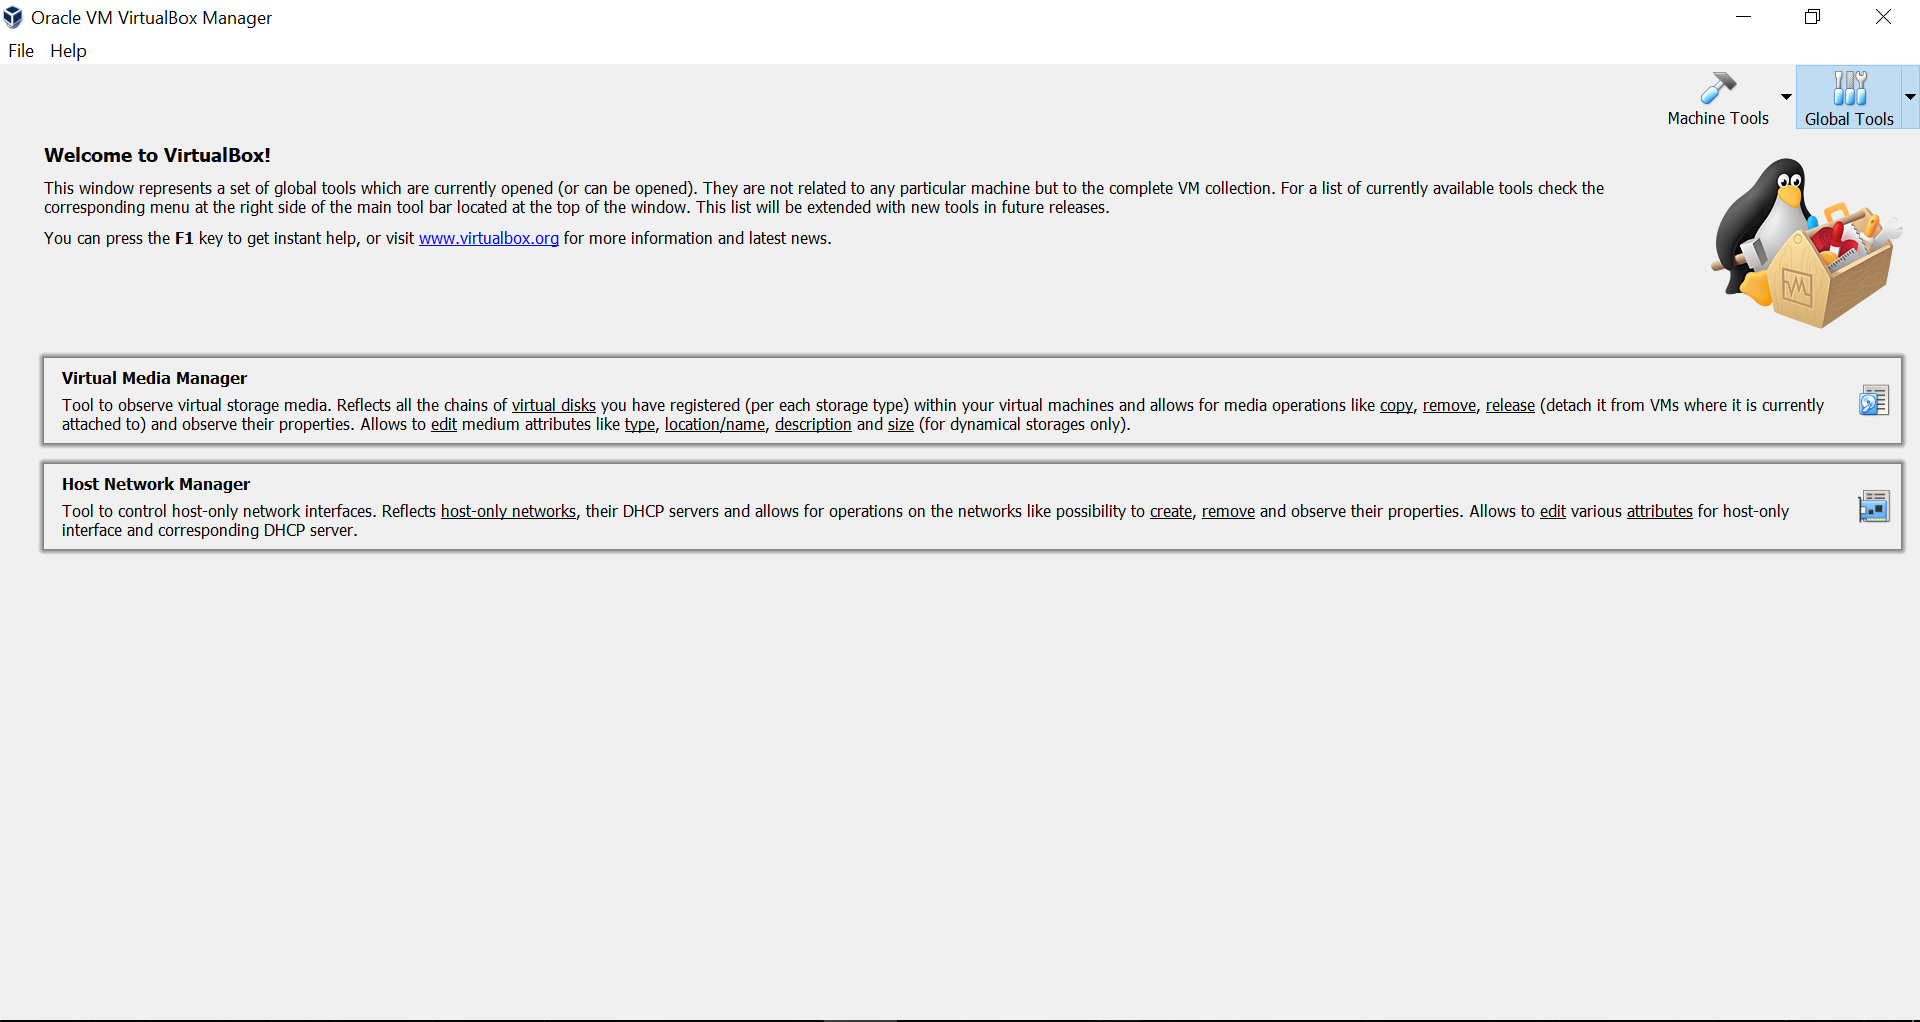
- When your done you will be welcome with similars screens.
Start the Instalation of Kali Virtual Machine
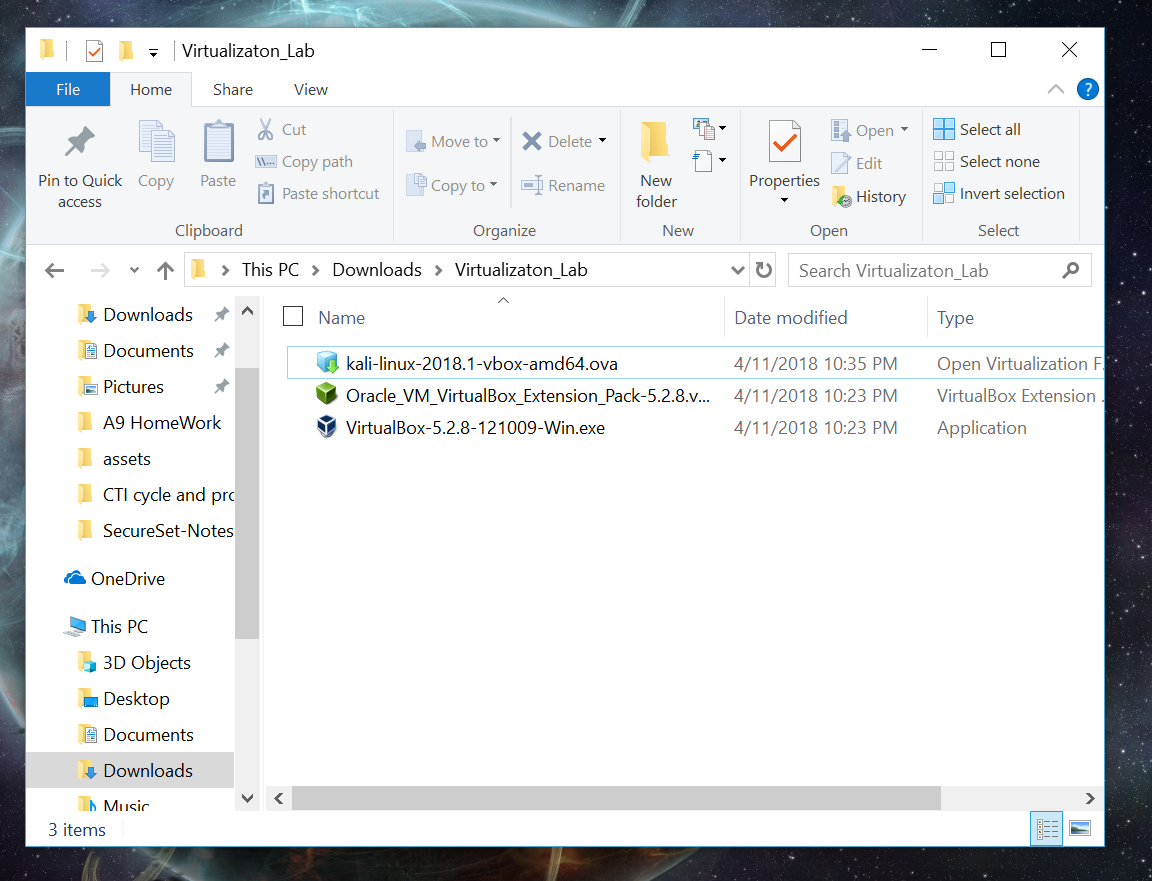
- Go back to the folder where your downloaded files are located.
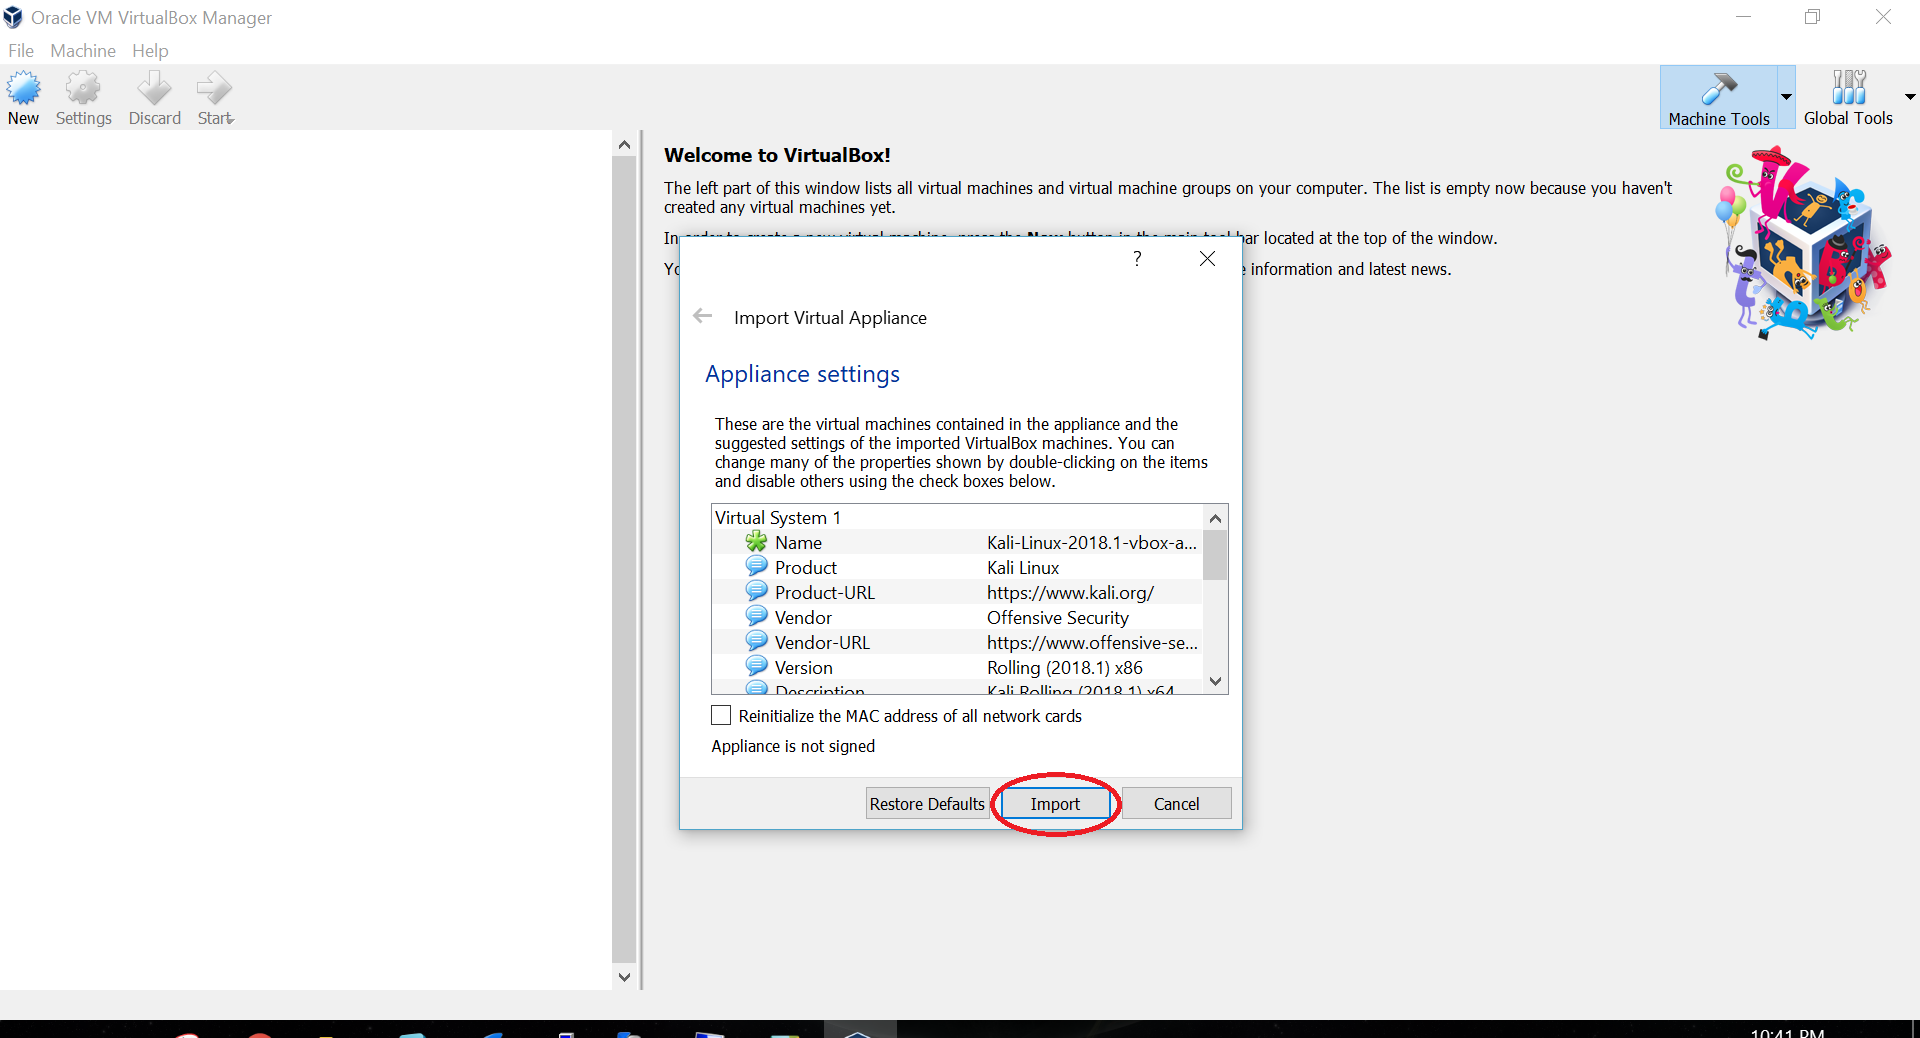
- Double click on the
kali***.ovafile to import the virtual machine this might take couple of second to show the pop up then clickimportand wait.
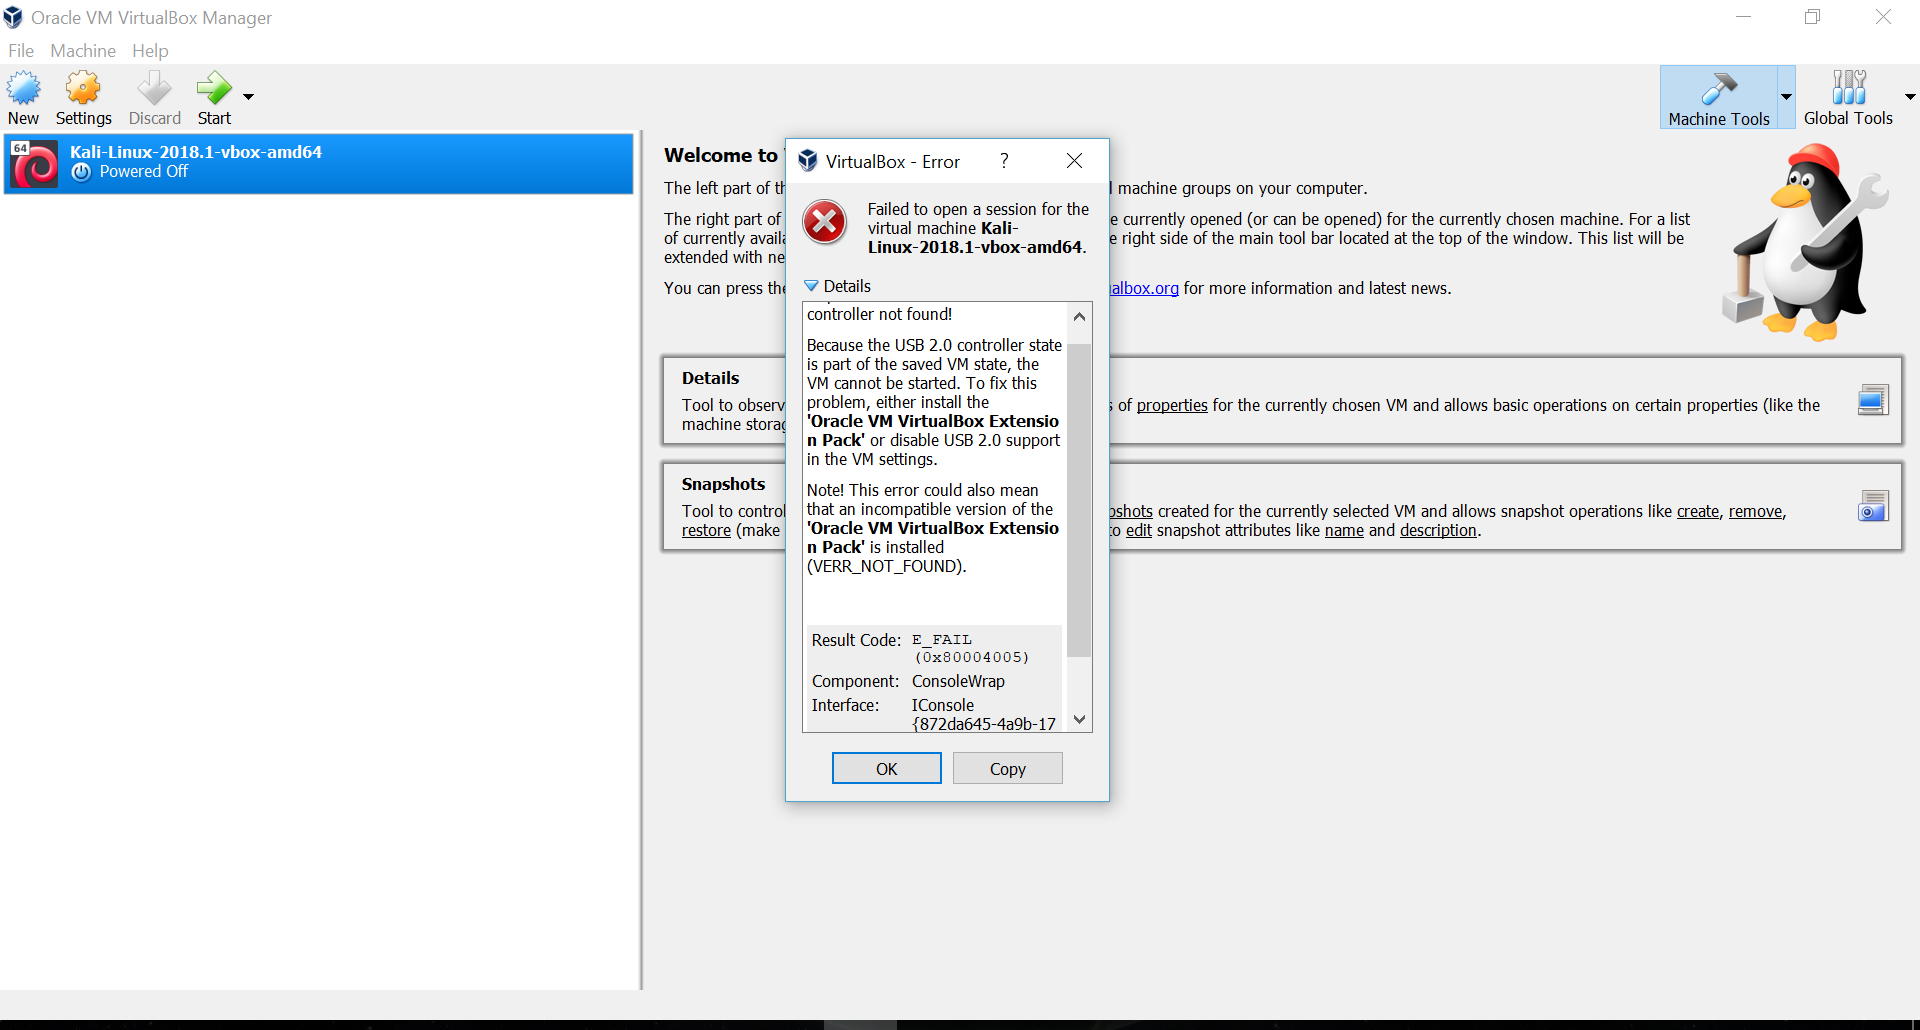
- After the import is done double click on the
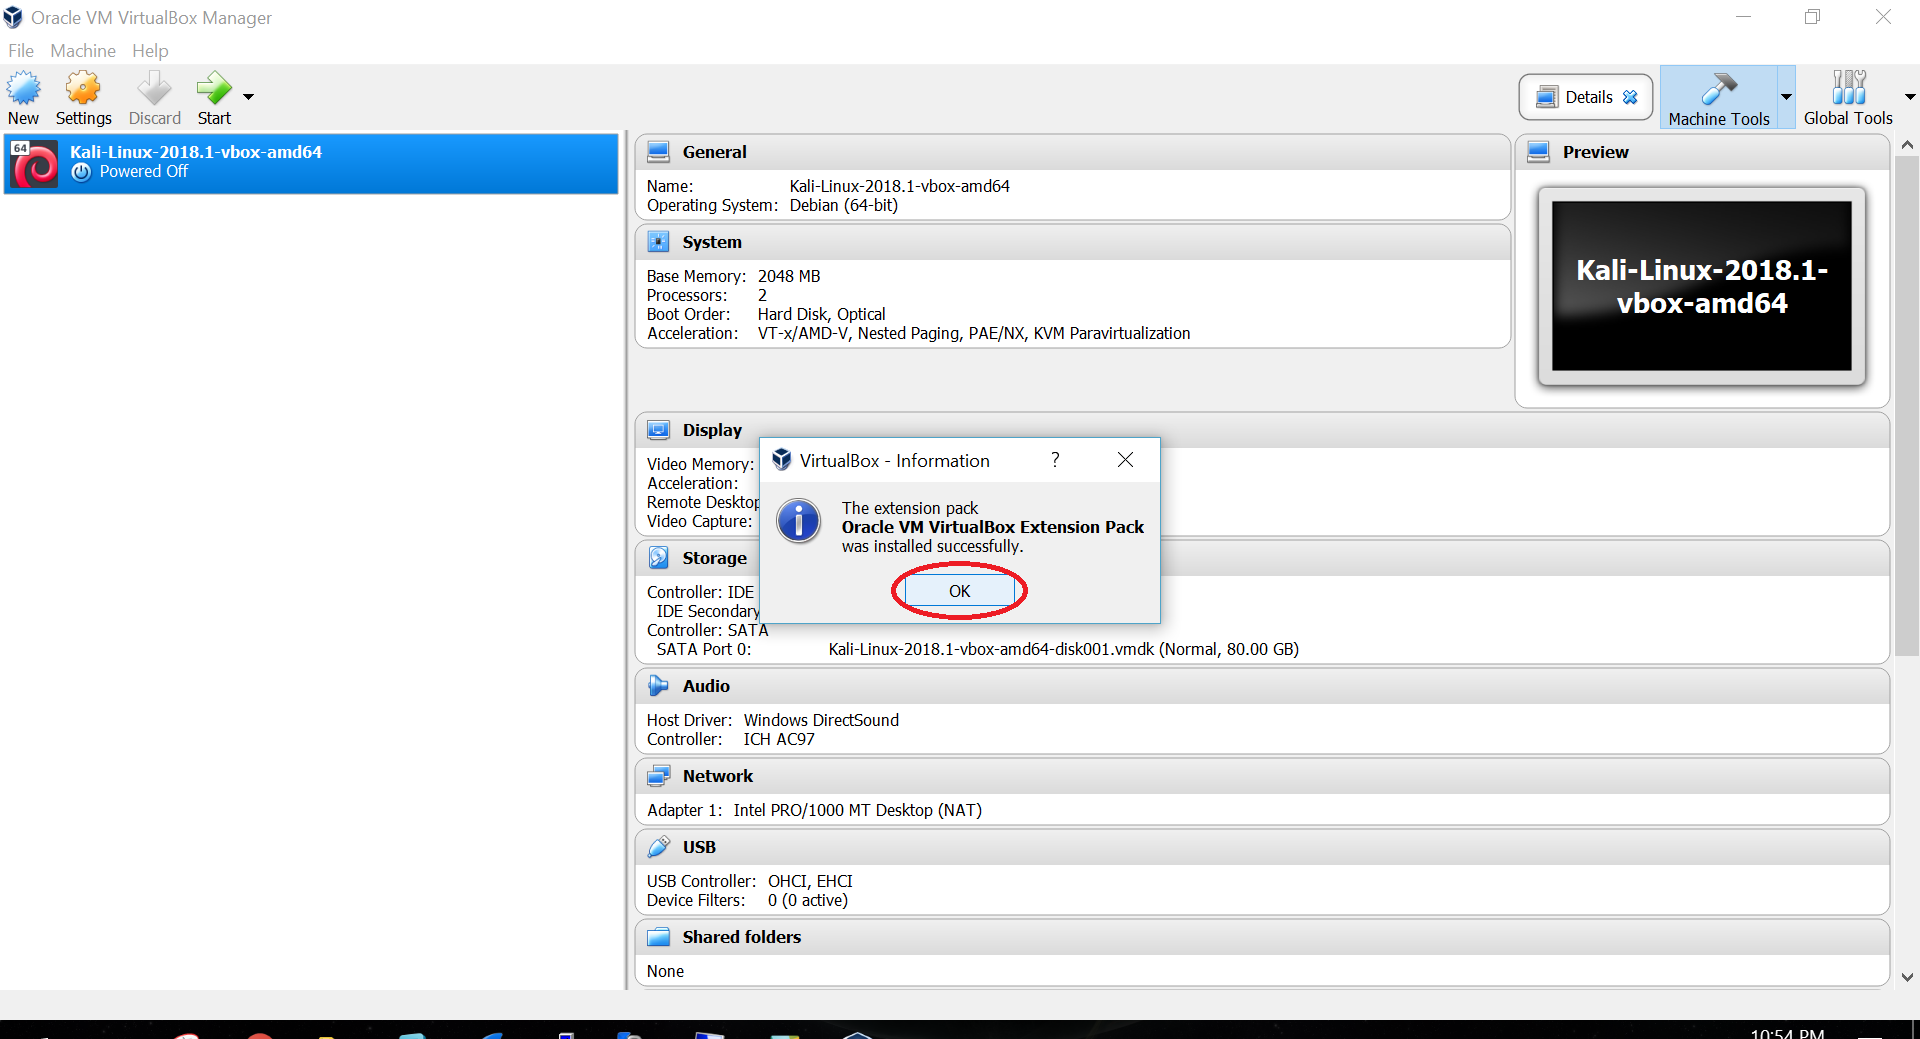
Kalivirtual machine to start machine if you get a error like bellow you must installVirtualBox Extension Pack
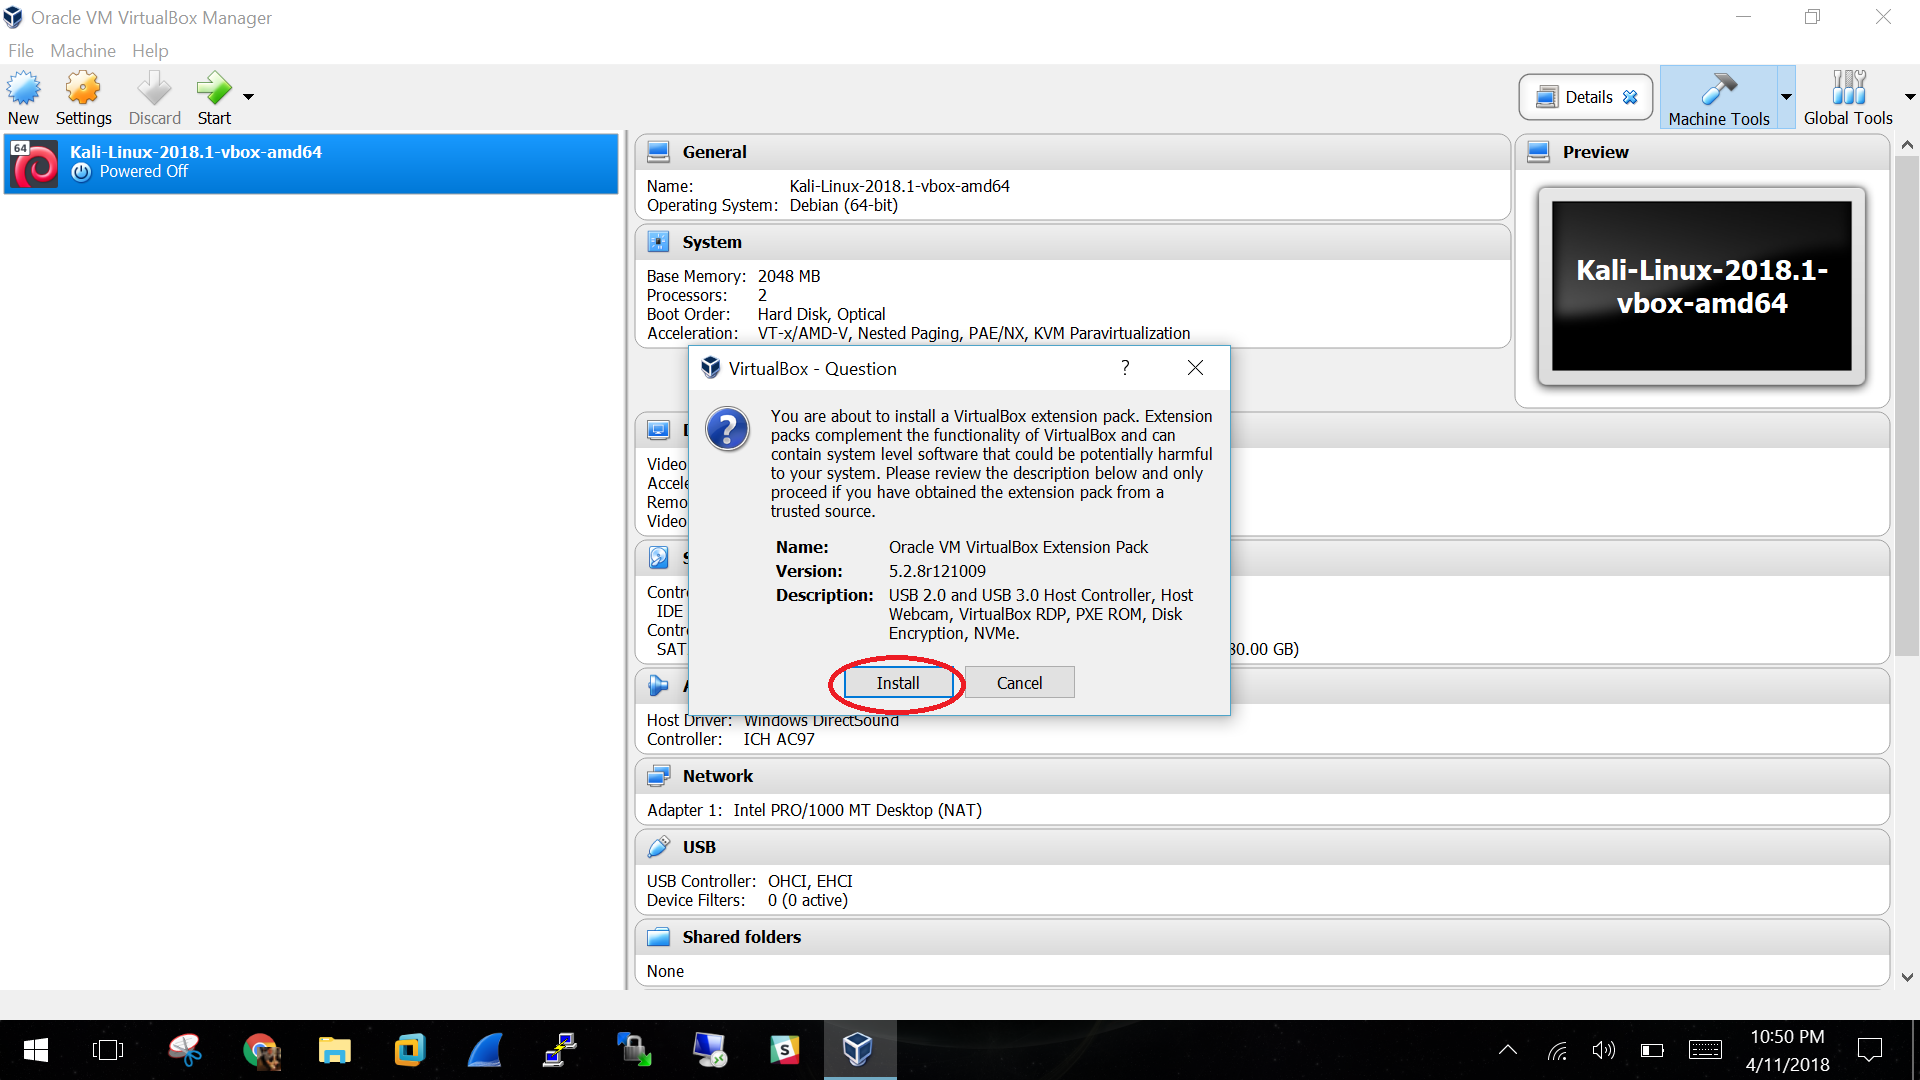
- Go to where you have your downloaded the install files and
double clickonVirtualBox Extension PackifVirtualBoxis open check the pop up or a second windows that might been open and clickInstall, and go throught the installation process.
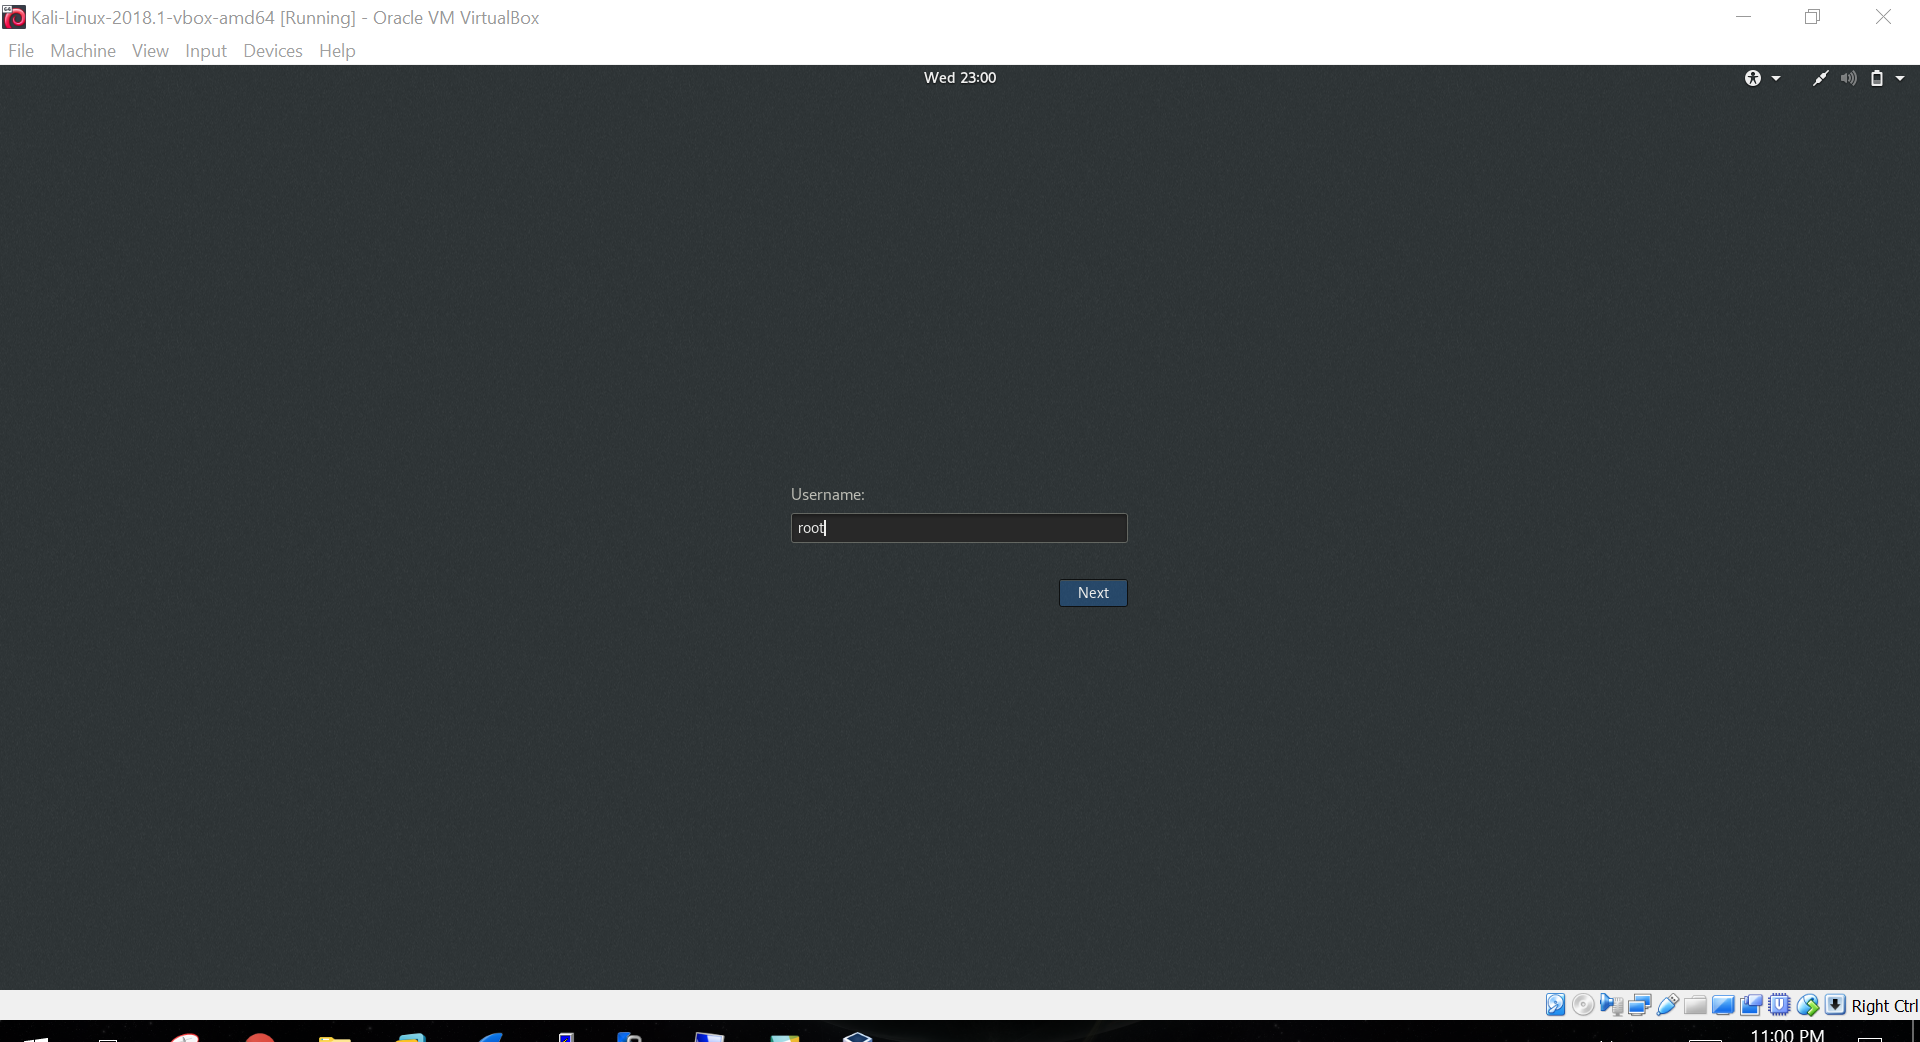
- Last step start your
Kali Virtual machineagain.
- The log in information for the Kali pre build machine is
Username:rootPassword:toor
- And!!!!!!!!!!! your done with the basic install of Kali on VirtualBox.
Network adapter setup
- The fun part deciding to used
NATorBridgenetwork.- If you want to have your network router throught your computer leave
NAT - If you want to have your virtual machine connected directly to the network card and get a external ip set it up to
Bridgemode.
- If you want to have your network router throught your computer leave
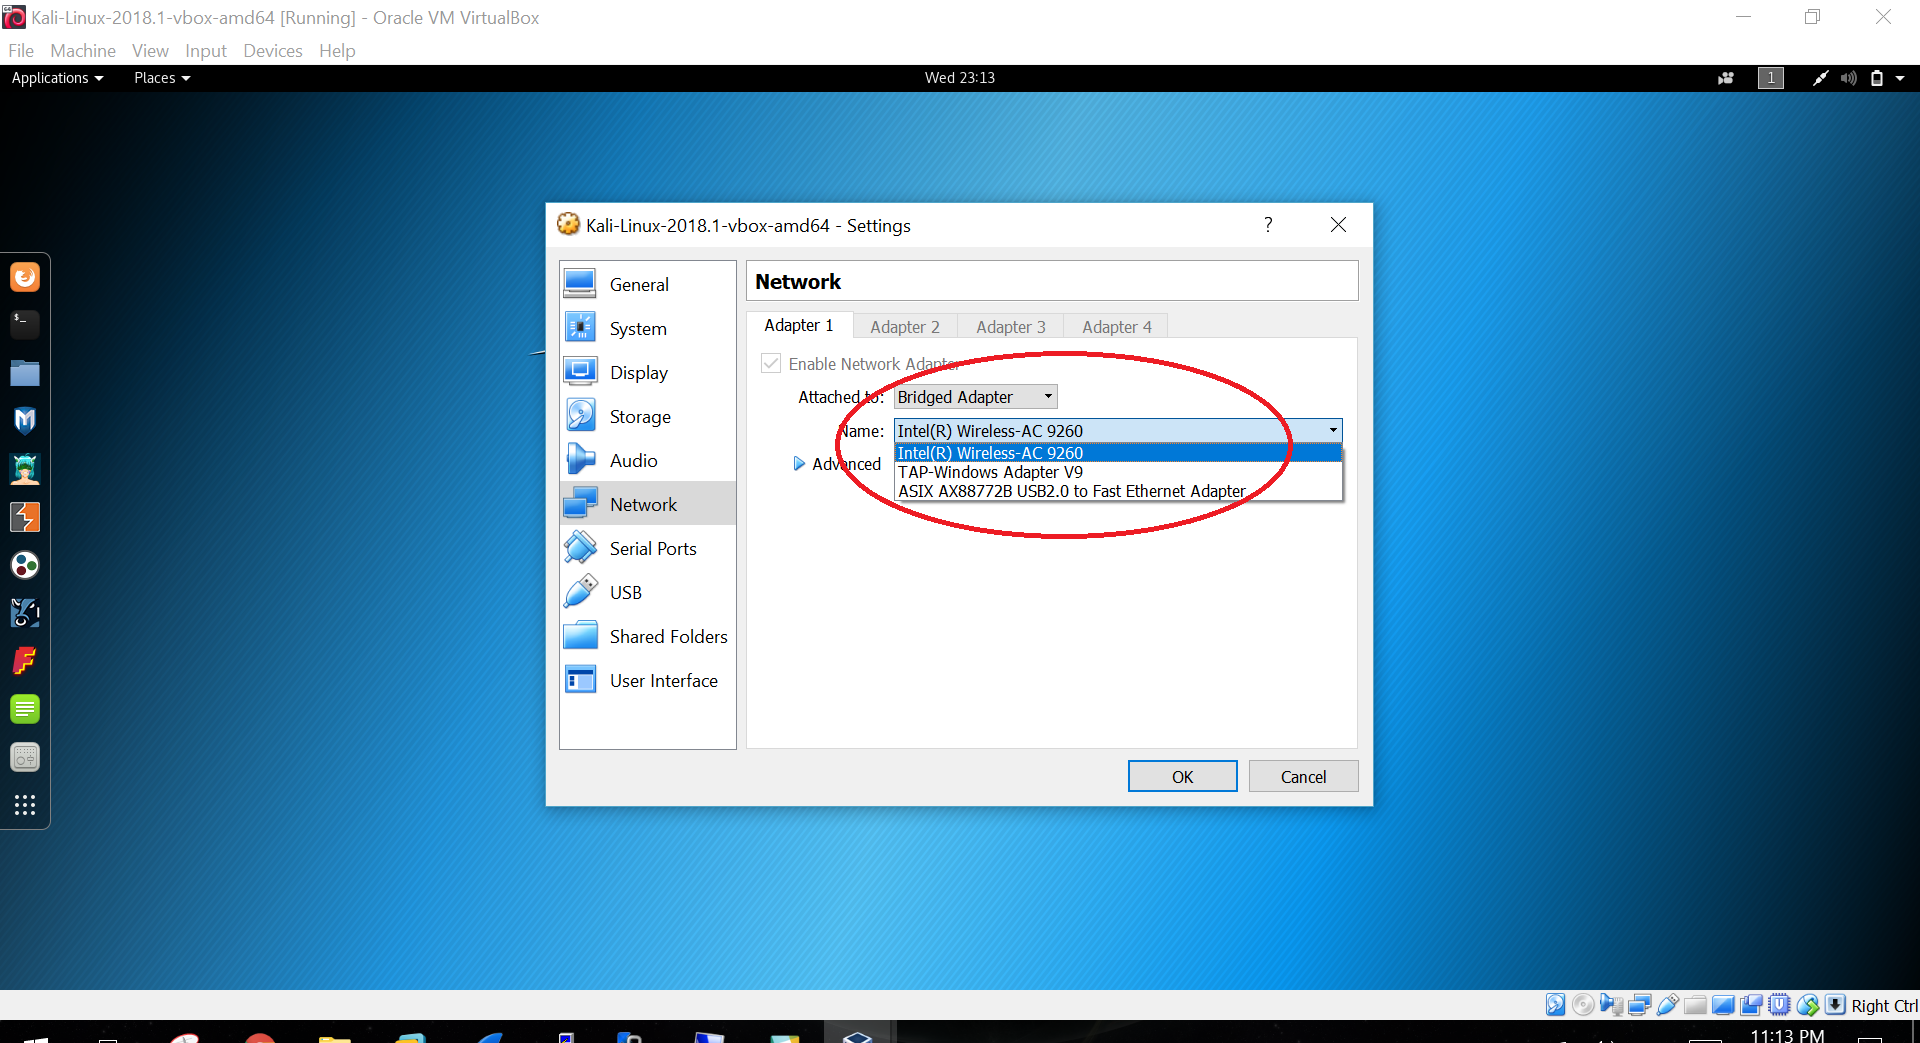
- First select
Machineon the top left to get the drop down.
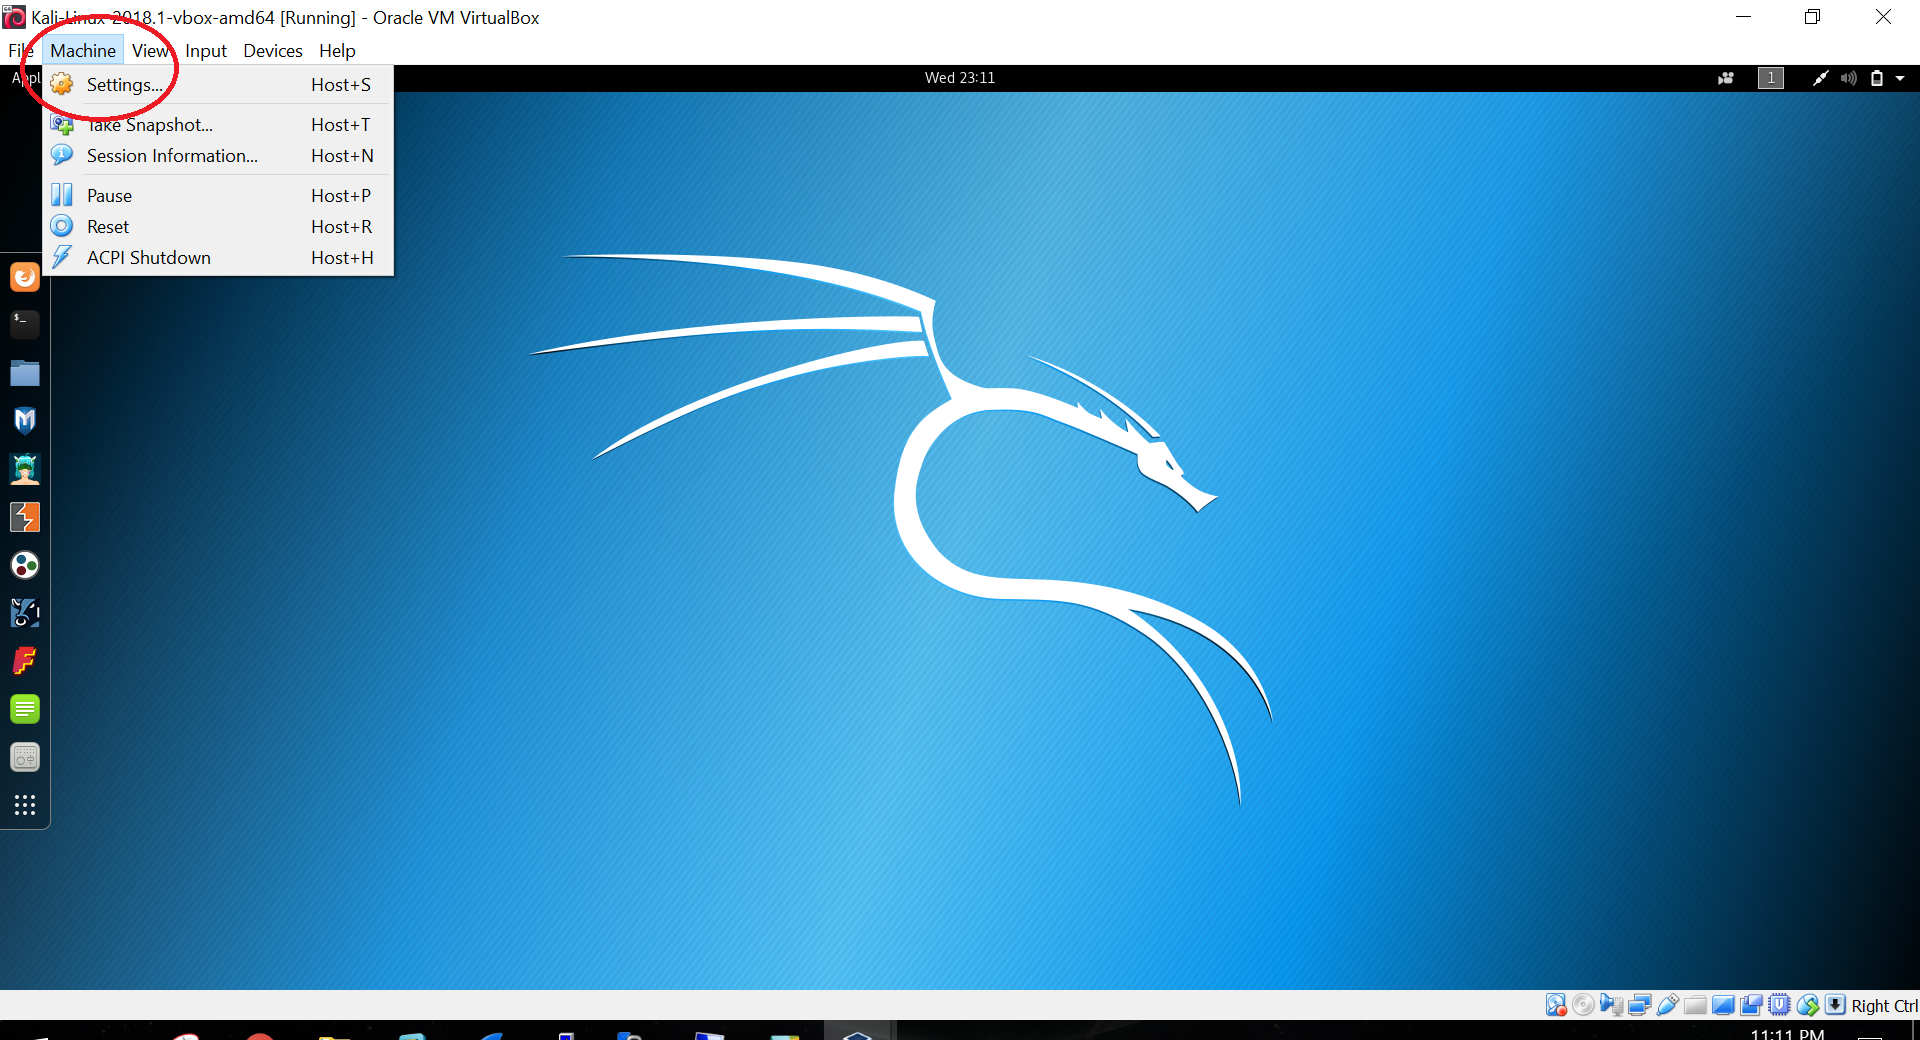
- Then select
Settingsto open the setting windows.
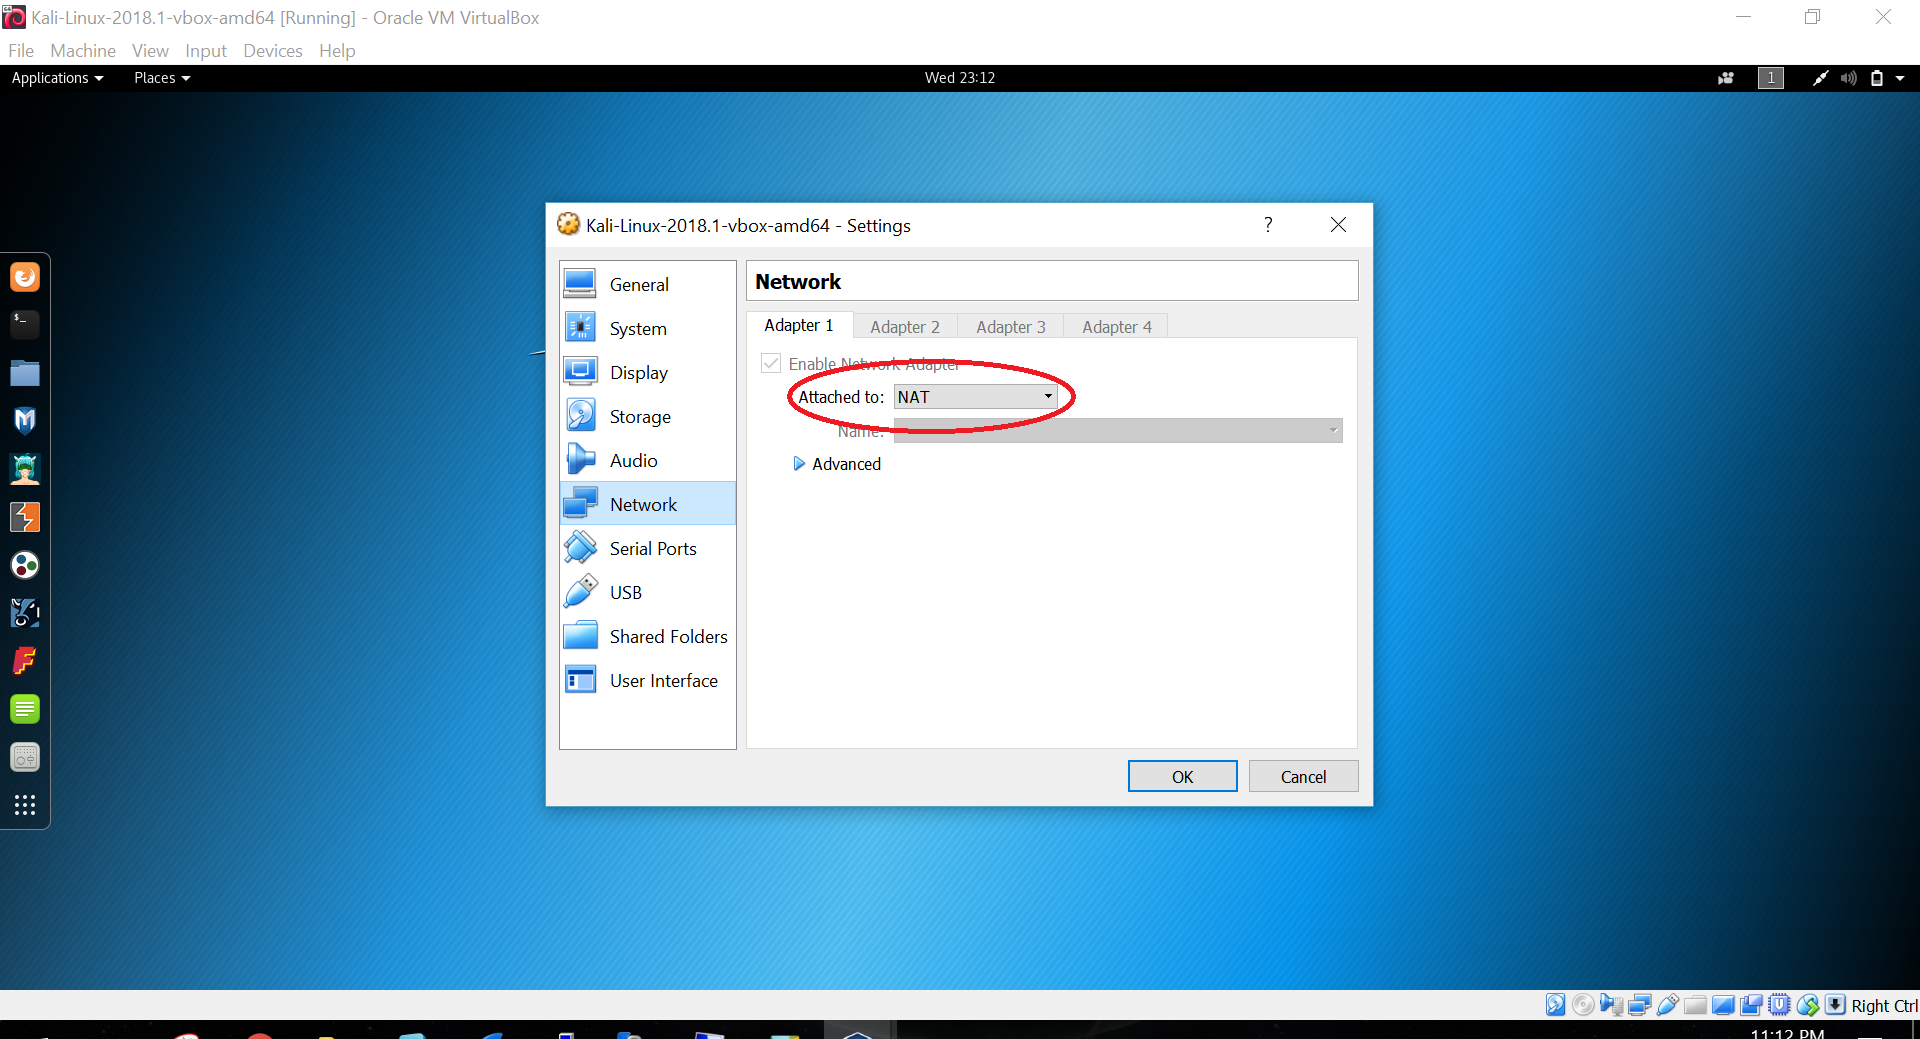
- The select
Networkto get to the network settings.
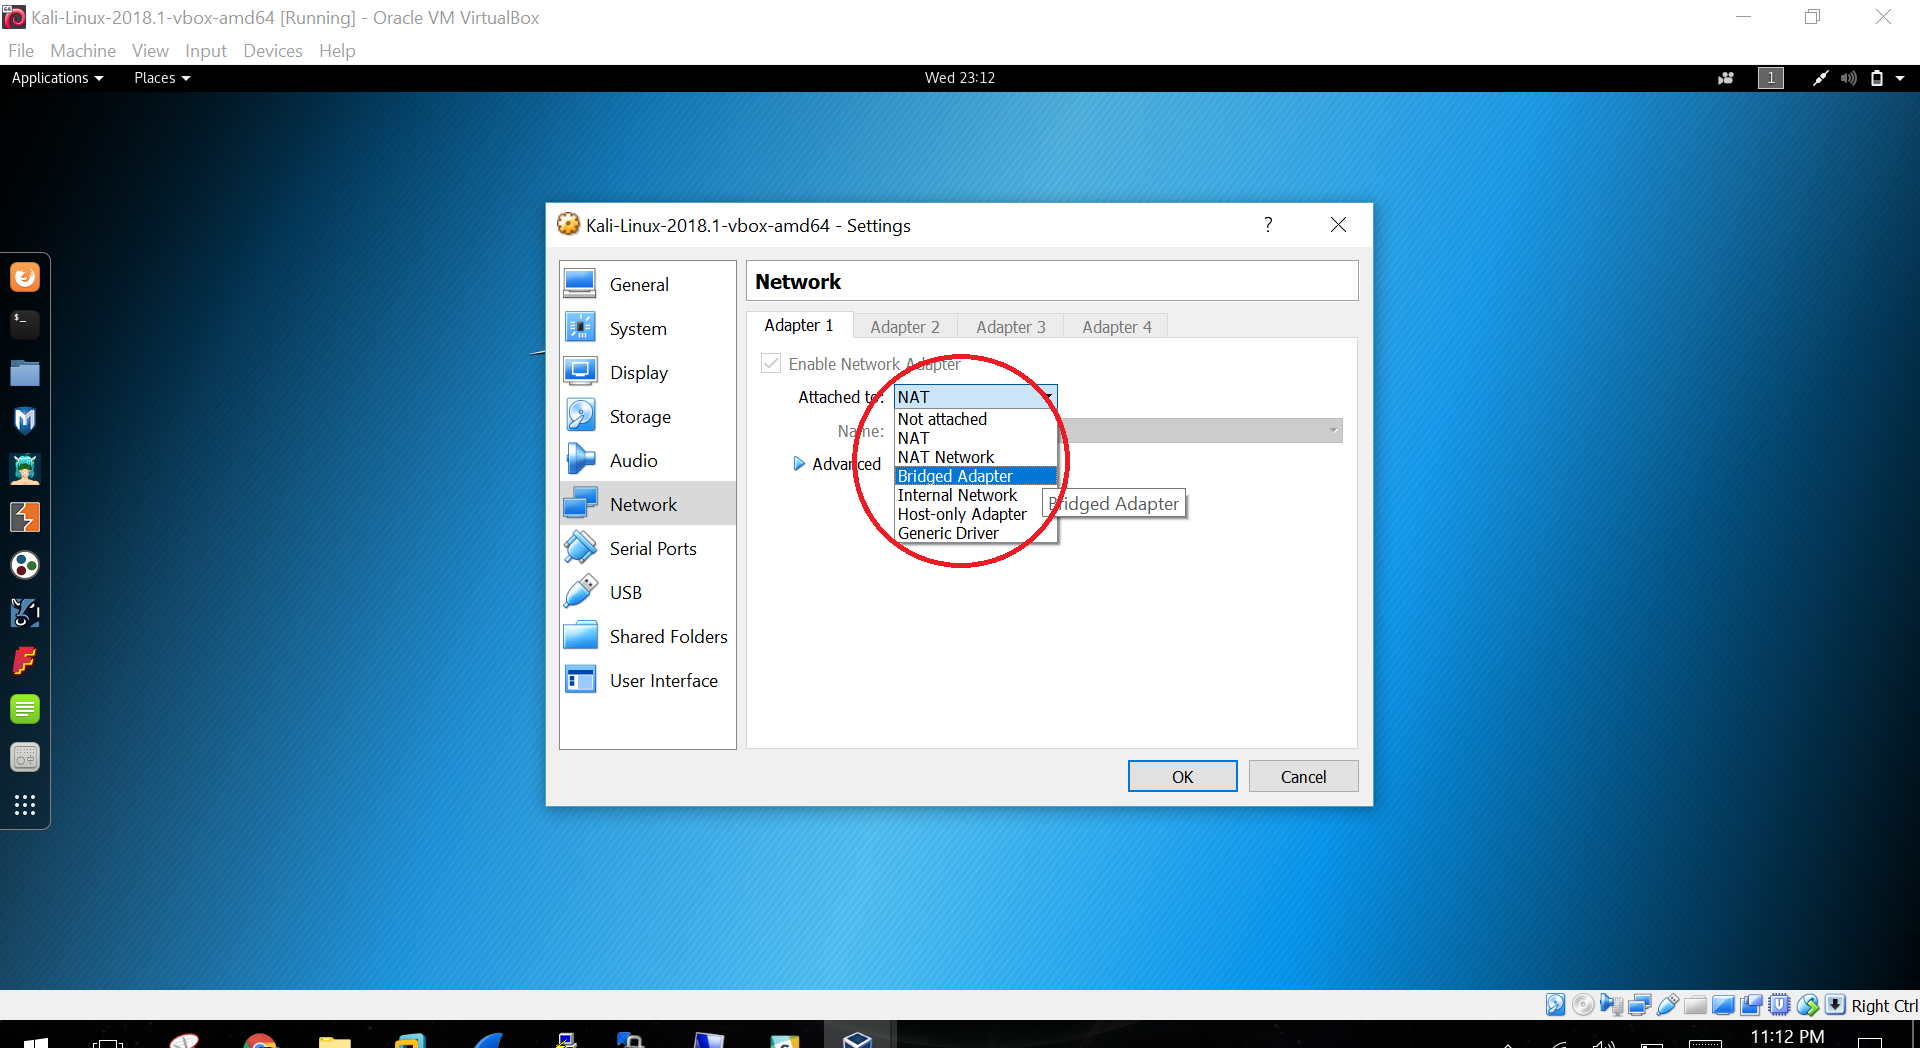
- Then select on the second drop down your
Wi-FiorExternal Wi-Fi deviceand press ok.